At some point during the summer break, I find myself thinking about the possibility of starting off the school year with no desks or chairs in my classroom and have the students build their own desk and chair. Then my logical brain kicks in and tells me that even if I wanted the students to make their own desks and chairs, their woodworking skill set wouldn’t be advanced enough in September to successfully complete the challenge. So then, I mentally repopulate my classroom with all my desks and … wait! What if the kids made stools instead of chairs? Hmm… A stool would need to be sturdy enough to withstand the rigours of classroom life, it would need to be simple in design for kids with little to no woodworking experience to assemble and the materials required would need to be relatively inexpensive.
I came up with the design for the square based stools towards the end of the school year a few years back. That year, I had numerous students who found it difficult to remain seated in regular classroom chairs for any length of time and they were constantly balancing on one or two legs of their chairs. I made the blue, yellow and red stools as test models to see if they would work. To my surprise, they have stood the test of 3 years of daily use with little sign of wear. The two stools on the left in the background, orange top and the wood coloured stool which is partially obscured by the table top, have round and slightly convex bases. This type of stool requires a wood lathe to make. These stools are more recent prototypes of wobbly stools that allow students to fully gyrate in any direction while forcing them to use their core muscles to stay upright; perfect for the active learner. These two wobbly stools are very popular with my students and are the first to go each morning when my students pick their seat for the day. 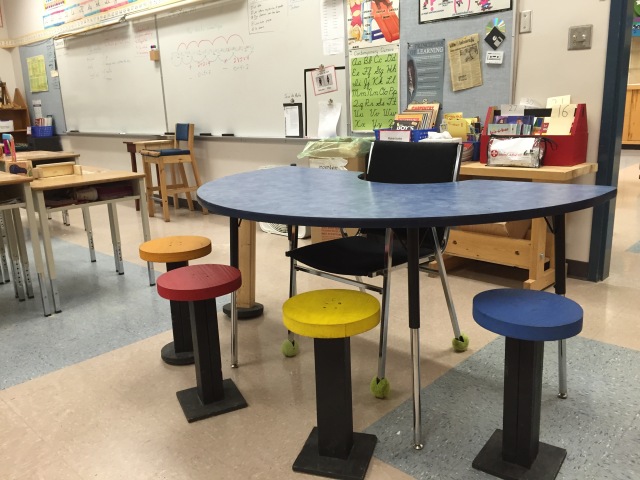 The square base stool is one of the early woodworking projects that I have my students make in September / October. This project is one of, if not the only project that I have the students do that only requires assembly. To make stools with round seats, as seen in the photo above, requires quite a considerable amount of preparatory work by an experienced woodworker with access to a table saw, a band saw, a miter saw, a drill and a brad nailer. Alternatively, you could make these stools with a square seat which would only require a table saw and a miter saw to prepare the materials.
Materials and tools for a round seat stool:
- 2 pieces of 2X4 cut exactly to 14″ in length for the post
- 1 piece of 3/4″ plywood cut to 8″x8″ for the base
- 2 pieces of 3/4″ plywood cut to 12″X12″ for the seat blank
- 1 1/4″ nails to secure the 2 seat pieces together
- 3″ nails (4) for the seat and (2) for the post and 2 1/2″ screws (4) for the base
- 1″ long piece of 1/4″ dowel
- thick plastic drawer liner found at most Dollar Stores
- masking tape
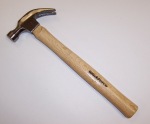
- 16 once hammer
- ruler or a straight edge
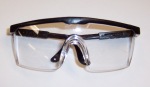
- safety glasses
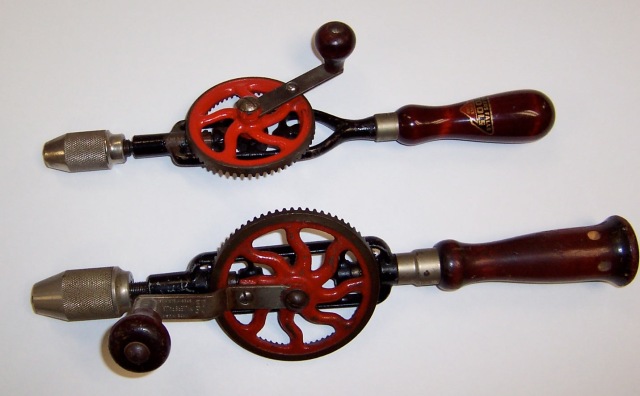
- a hand drill with a 1/4″ drill bit
- 1/4″ impact driver with a No.2 Robertson bit (in Canada)
- industrial stapler with 3/8″- 1/2″ staples
Planning and preparation:
In order to determine the desired height for your stool, start by measuring the height of a comfortable chair for the person who will be using this stool. This measurement will give you the finished overall height for the stool. For my grade 3 students (aged 8 or 9), 16 1/4″ is a good average overall height for a stool that they can grow into over the length of the school year. I customize the height of each student’s stool and so in my classroom we have stools of varying heights.
To determine the height of the post, keep in mind that the base is made using one piece of 3/4″ thick plywood and the seat is made using 2 pieces of 3/4″ thick plywood. Their combined thickness is 3/4″ + 1 1/2″ = 2 1/4″. This means that you will need to subtract 2 1/4″ from the overall desired height of the stool to establish the length of the 2X4s for the post.
For a 16 1/4″ tall stool, you’ll need to cut 2 pieces of 2X4 at exactly 14″ and then tape the two pieces together to secure the matched pair.
For the base, you will will need to cut one piece of 3/4″ plywood to 8″X8″.
To make the seat, you have 2 options:
Option 1: Square seat – Cut two pieces of 3/4″ plywood at 10″X10″or 11″X11″. Glue and nail them together with the 1 1/4″ nails. To find the centre, draw diagonal lines from opposing corners. Where the two lines intersect, drill a 1/4″ hole 1/2″ deep.
Option 2: Round seat – Cut two pieces of 3/4″ plywood to 12″X12″. Glue and brad nail the 2 pieces together with 1 1/4″ brads making sure to nail closer to the middle of what will be a circle. To find the centre draw diagonal lines from opposing corners on one piece of 12″X12″. Where the two lines intersect, drill a 1/4″ hole 1/2″ deep. Insert a 1/4″ dowel 1″ long into the hole in the 12X12″ seat blank and then insert the other end of the dowel into a circle cutting jig for your band saw or table saw. Complete the cut on the band saw or series of cuts on the table saw and then remove the seat from the circle cutting jig.
Click on this link for a video on how this is done on the band saw.
Assembly instructions:
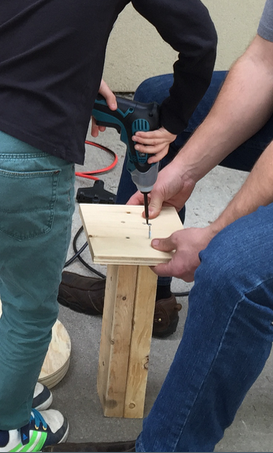
Remove the masking tape from the 2X4s and sand both pieces smooth along each edge and end. Tape the two pieces of 2X4 back together making sure that the ends are perfectly lined up at both ends. With safety glasses on, use a 16 once hammer to drive 2 nails evenly spaced along the length of the 2X4 to join the 2 pieces together.
Centre the base on one end of the post then secure the base to the post using four 2 1/2″ screws screwed in at an angle using an impact driver. Make sure to countersink the screw heads into the plywood so that they do not stick up past the surface of the plywood. Failure to do so will cause the screw head(s) to scratch the floor. Through experience, I have learned not to use nails to secure the base to the post as the nails eventually become dislodged and will stick up past the plywood causing damage to the floor. I am eternally grateful to our custodial staff for their patience and understanding as we learned this lesson the hard way.
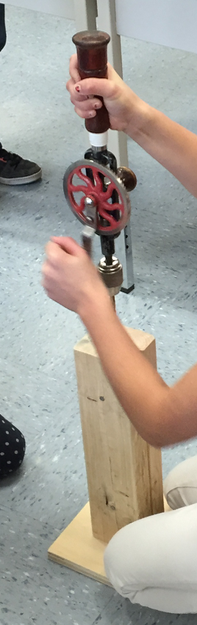
With the base secured to the post, flip the assembly on to its base. On the upright end of the post, locate its middle and drill a 1/4″ hole 1/2″ deep. Cut a 1″ long piece of 1/4″ dowel to length and insert it into the hole into the end of the post.
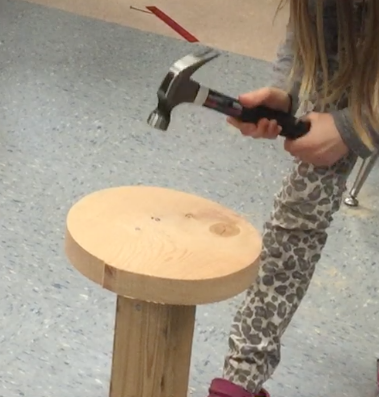
Place the seat onto the post. Be sure to insert the dowel into the 1/4″ hole on the bottom of the seat. Make sure the underside of the seat is properly seated against the top of the post. Taking the time to drill for and using the dowel will ensure that the seat is centred on the post and will make nailing much easier. Place the first nail on the seat’s surface and confirm that it will enter the post at one of its corners at a slight angle towards the middle of the post before nailing it in. In order to achieve a nice square nail pattern on the surface of the seat, align the 3 other nails at each of the other corners of the post.
To protect the floor, you will want to cut a piece of the plastic drawer liner to match the underside of the base. Affix it to the base using an industrial stapler. One staple at each corner should suffice. The plastic drawer liner also helps to provide more grip to the base so that when a student is sitting on the edge of his seat, from a riveting lesson no less, the stool won’t slip out from under the child as easily.
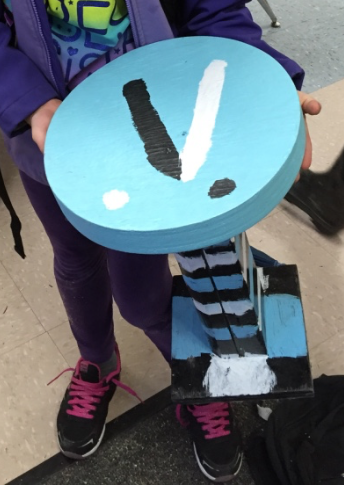
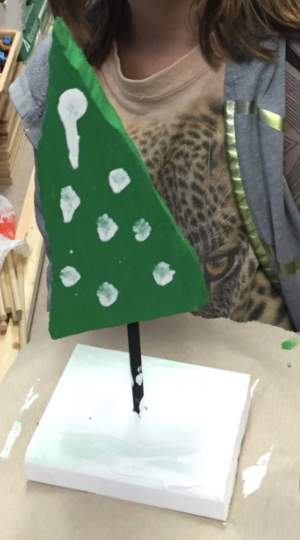
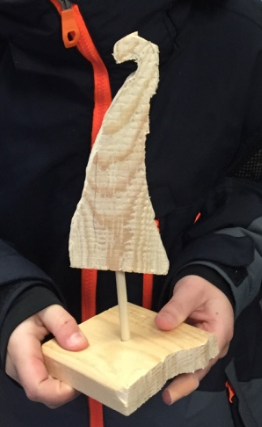
Now all that is left to do is to decorate the stool with your own custom design.
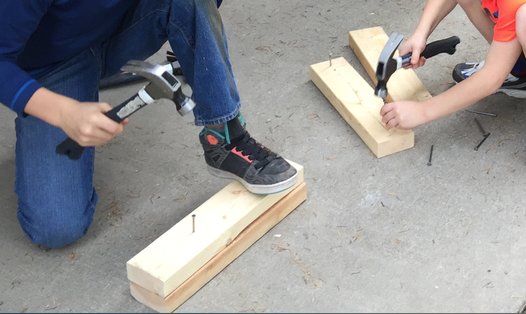
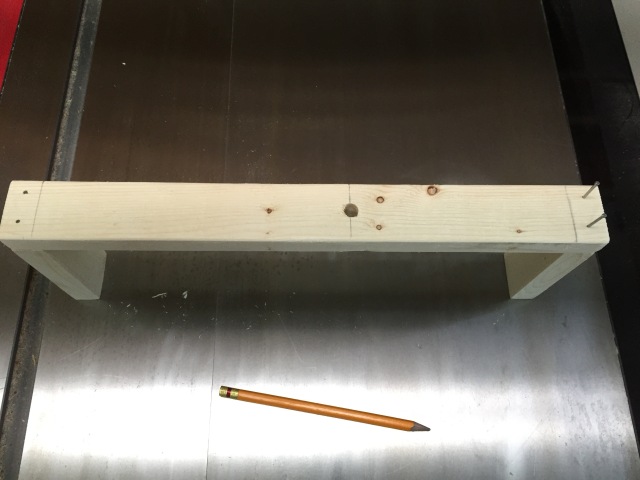
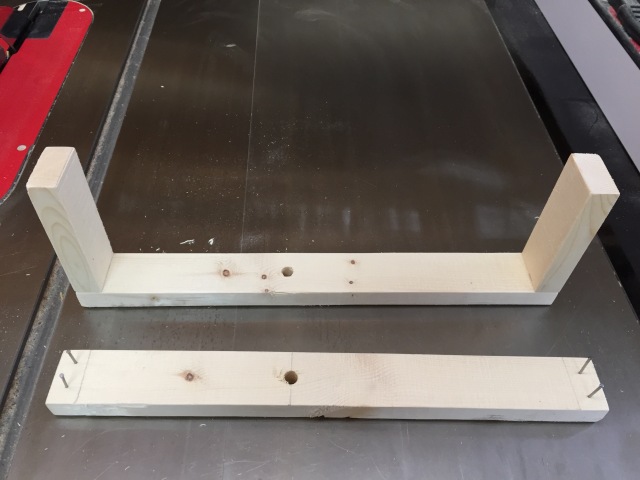
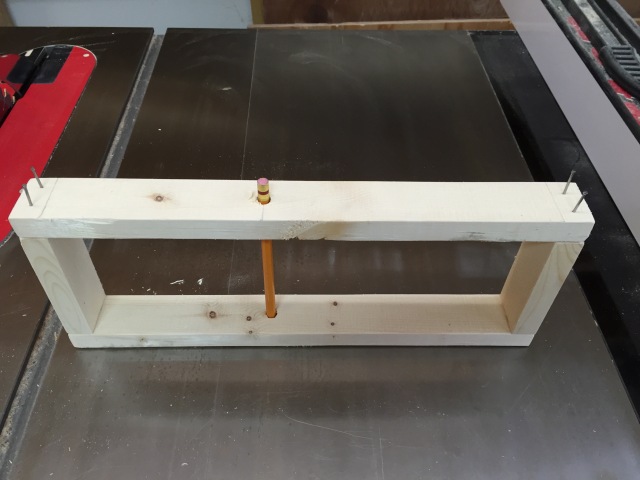
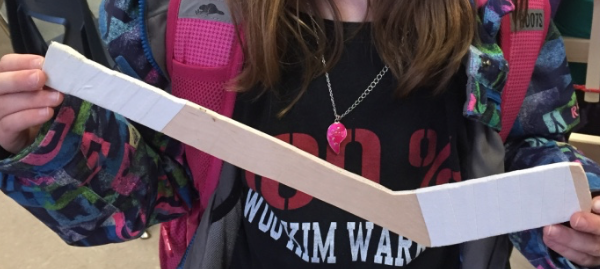
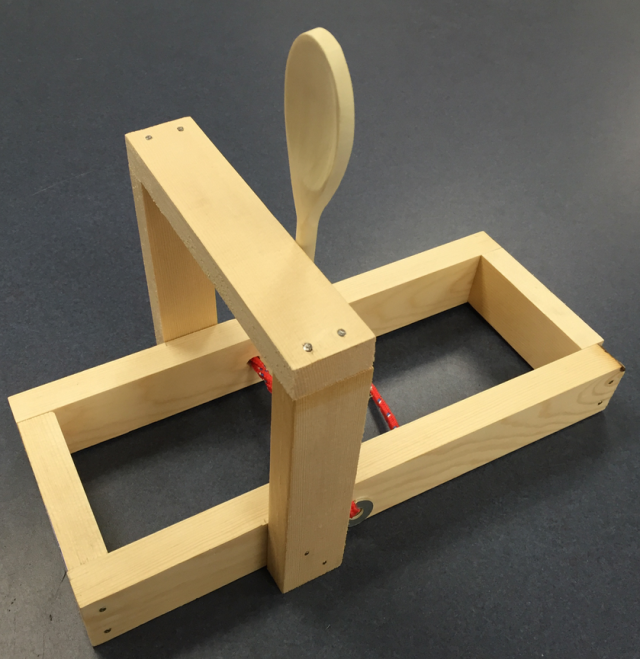 This simple catapult is a great project to make with kids. It combines many different skills into one project, without being too intimidating. Kids will learn how to measure, to cut to length using a miter saw and box, to nail and to drill.


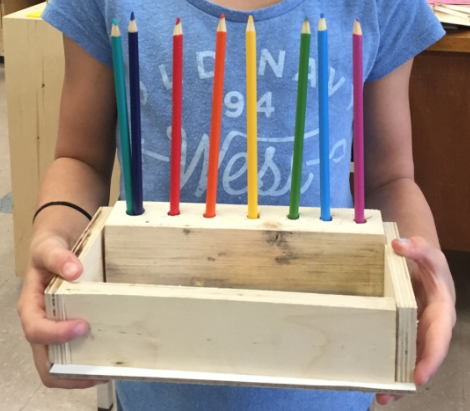 As you can see in the picture, the desk caddy is made using a piece of 2X3 to hold pencils, some 1/2″ Baltic birch plywood for the 3 sides and some 1/8″ hardboard or Baltic birch plywood for the bottom.
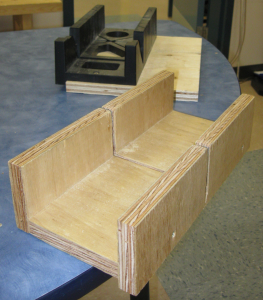
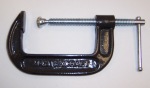
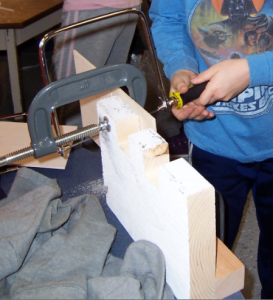
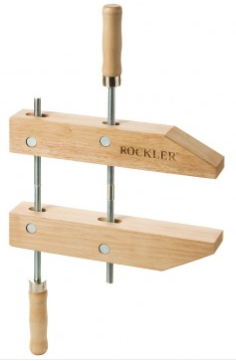 This is due to the very real possibility that if the student drills too fast, the cube could spin out of my hands and cause me harm. The wooden handscrew clamp provides much better grip as well as a welcomed degree of safety. A note of caution when working with spade bits, once you’ve drilled a hole in the cube you cannot go back and enlarge the hole with a larger spade bit. This is because the spade bit’s spur has nothing to dig into and will cause the cube to shake uncontrollably. So, choose wisely.